Building a Terrarium back wall
Building a back wall for your terrarium is some work, but I really think it pays off in the long term. Having a nicely designed terrarium in your living room is a real eye catcher. To be fair: the resident usually does not care at all 😉
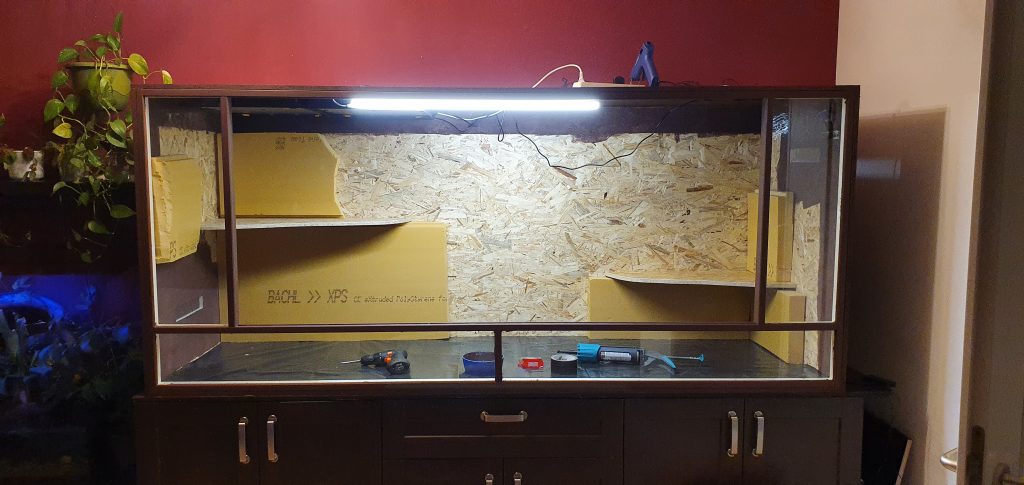
We started by putting up Styrodur on some spots to have a bit uneven structure later

Then we placed a mat on the ground because the next step is a bit messy:
(A lot) Construction foam is sprayed on the walls
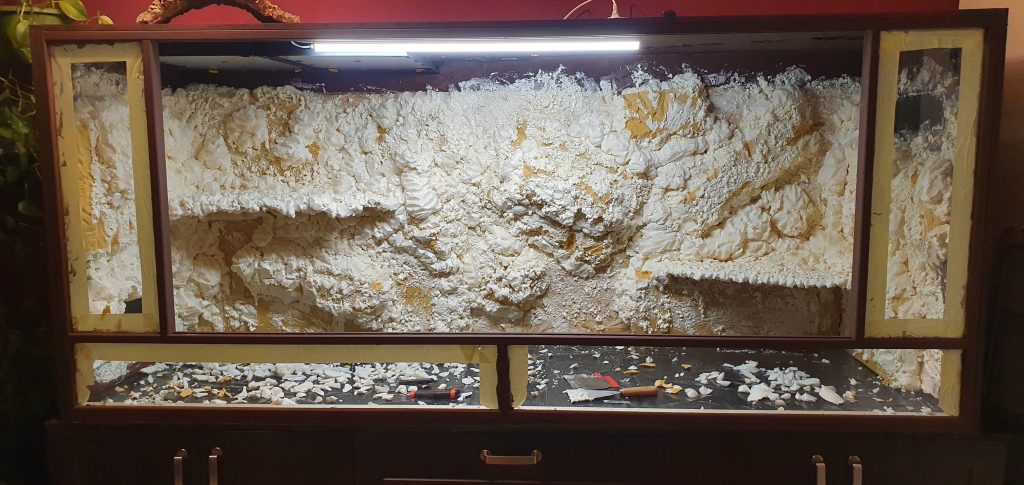
When the foam was completely dried, we cut it and tried to give it a natural look.
You don’t need to work out the small crevices as we will use a lot of paint in the next step.
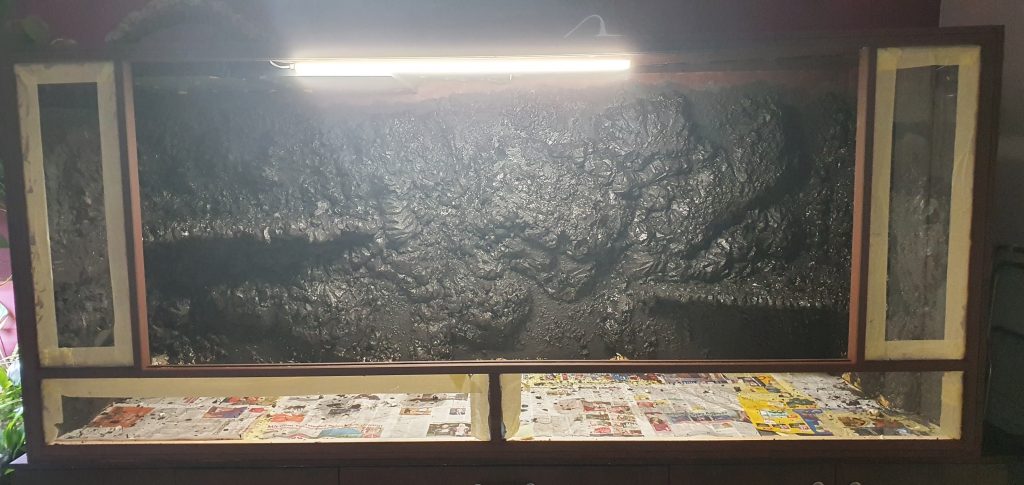
We primed everything with black tile glue to get dark shadows and contrast (and because the yellow Styrodur would shine through).

In the last step we used a dry brushing technique and created a natural looking habitat